Catalog: basics
Working with categories, products, stock, prices, etc.
How to add a product?
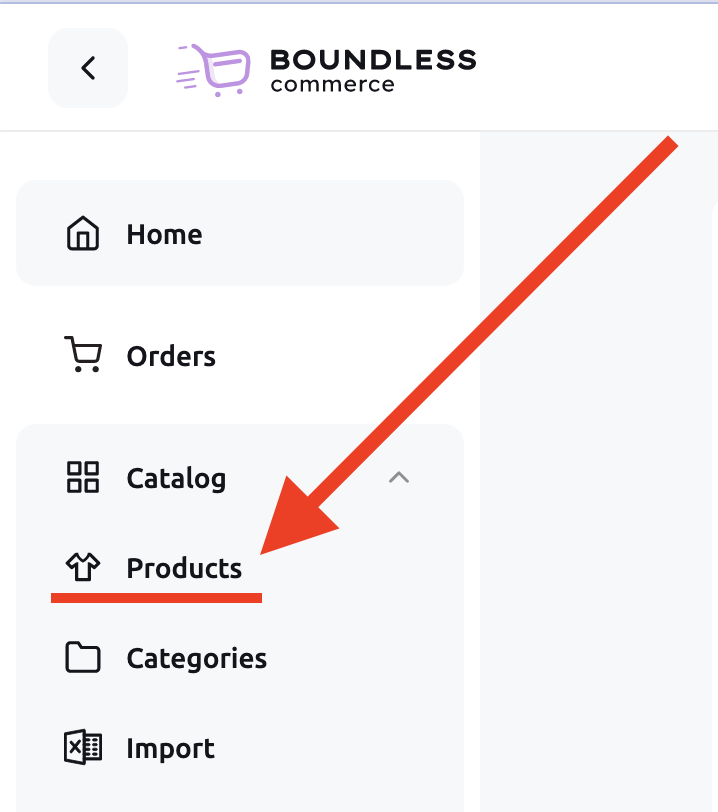
Go to the Backend, then in the left menu: Catalog section and click "Products":
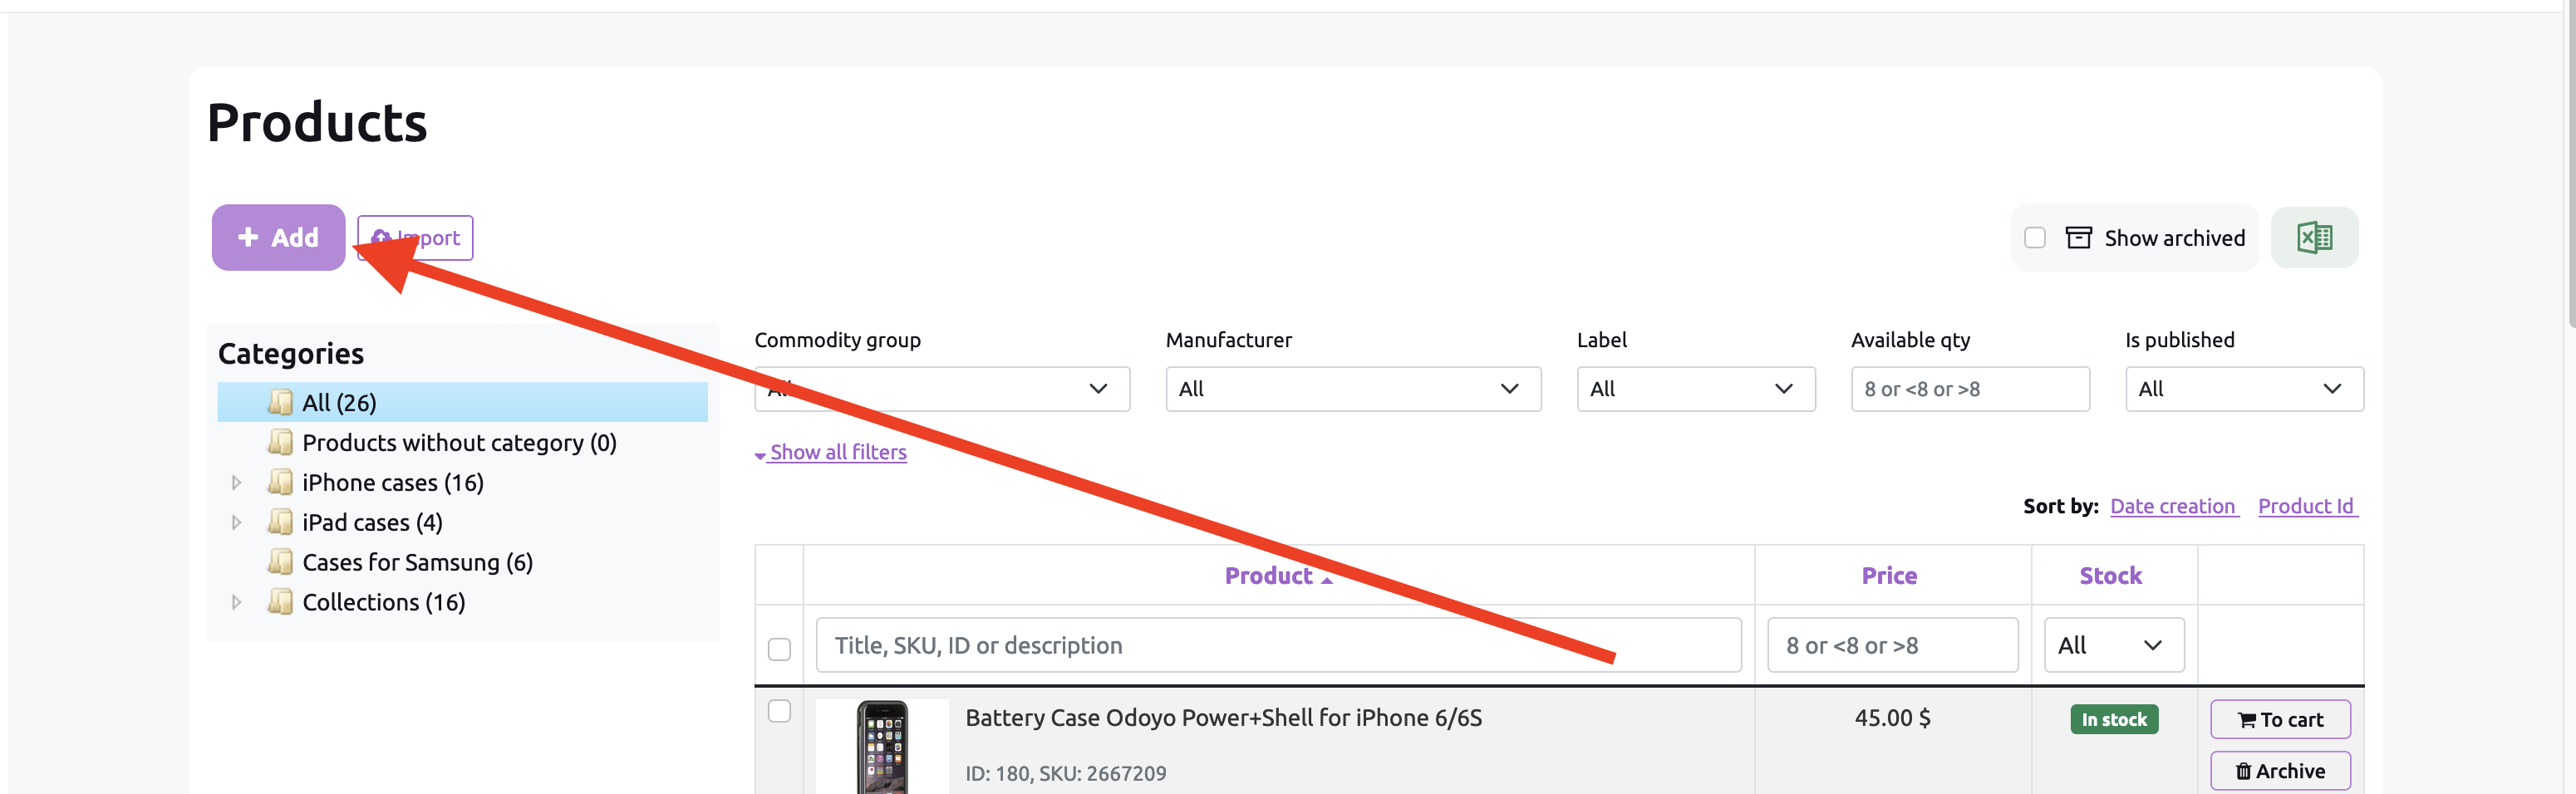
After you come on the Product's list click on the "Add" button:
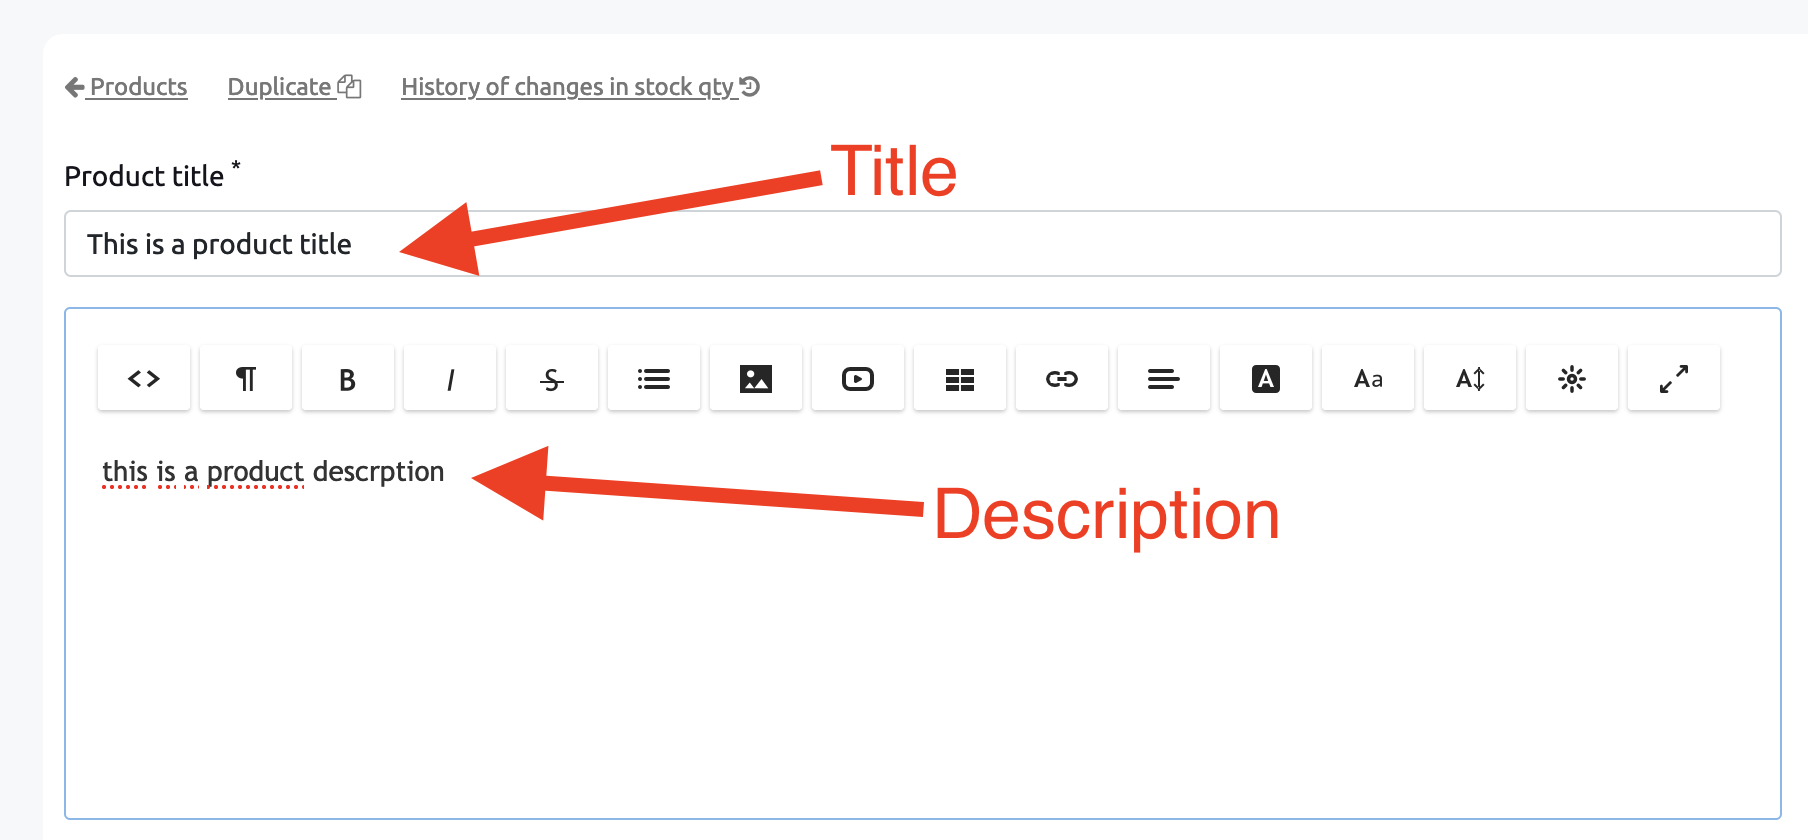
The product's form has 3 tabs: "General", "Variants and Options" and "Additionally". By default, the "General" tab is active:
Let's start with entering product title and description.:
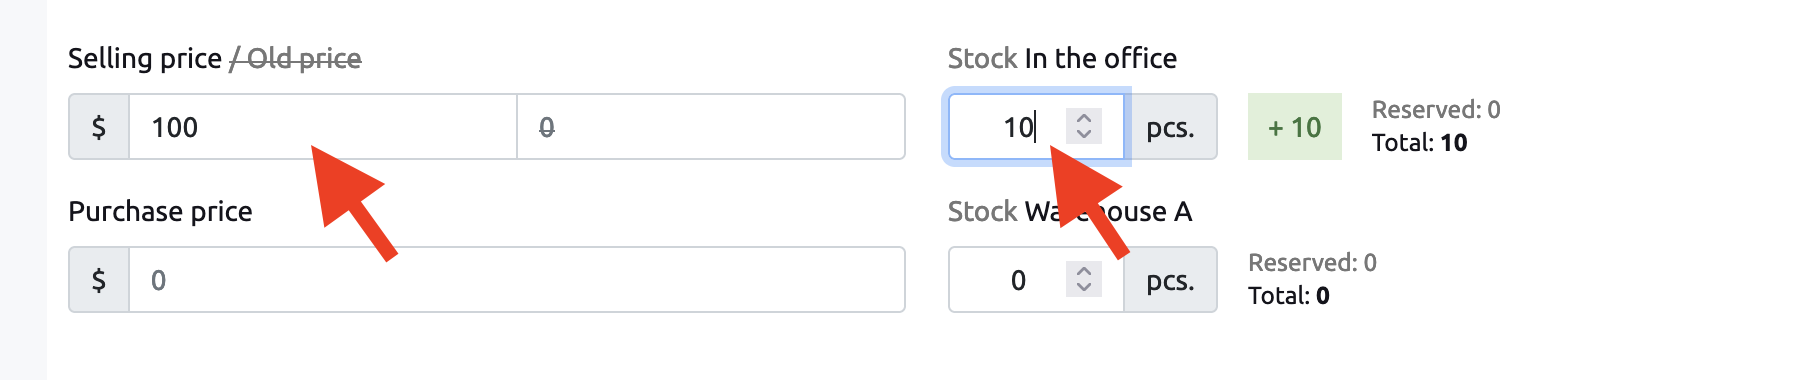
Enter the Selling price and the quantity you have. If you don't track product inventory - we will tell you how to turn it off on a group or system level:
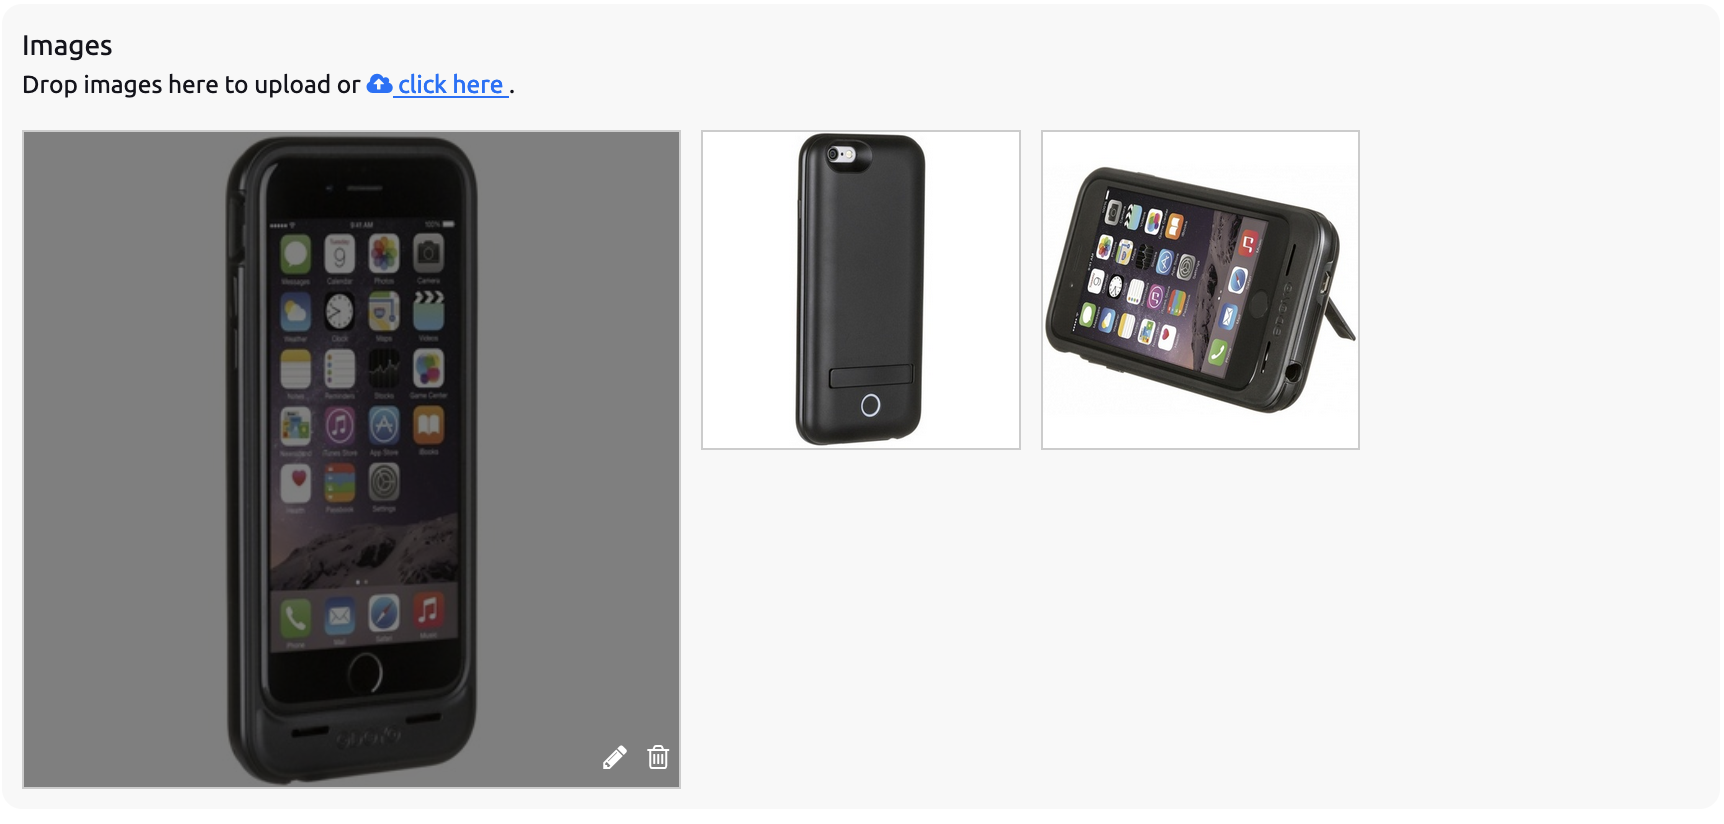
Upload one or more images. The first image will be used as the main image. You can sort images by dragging them:
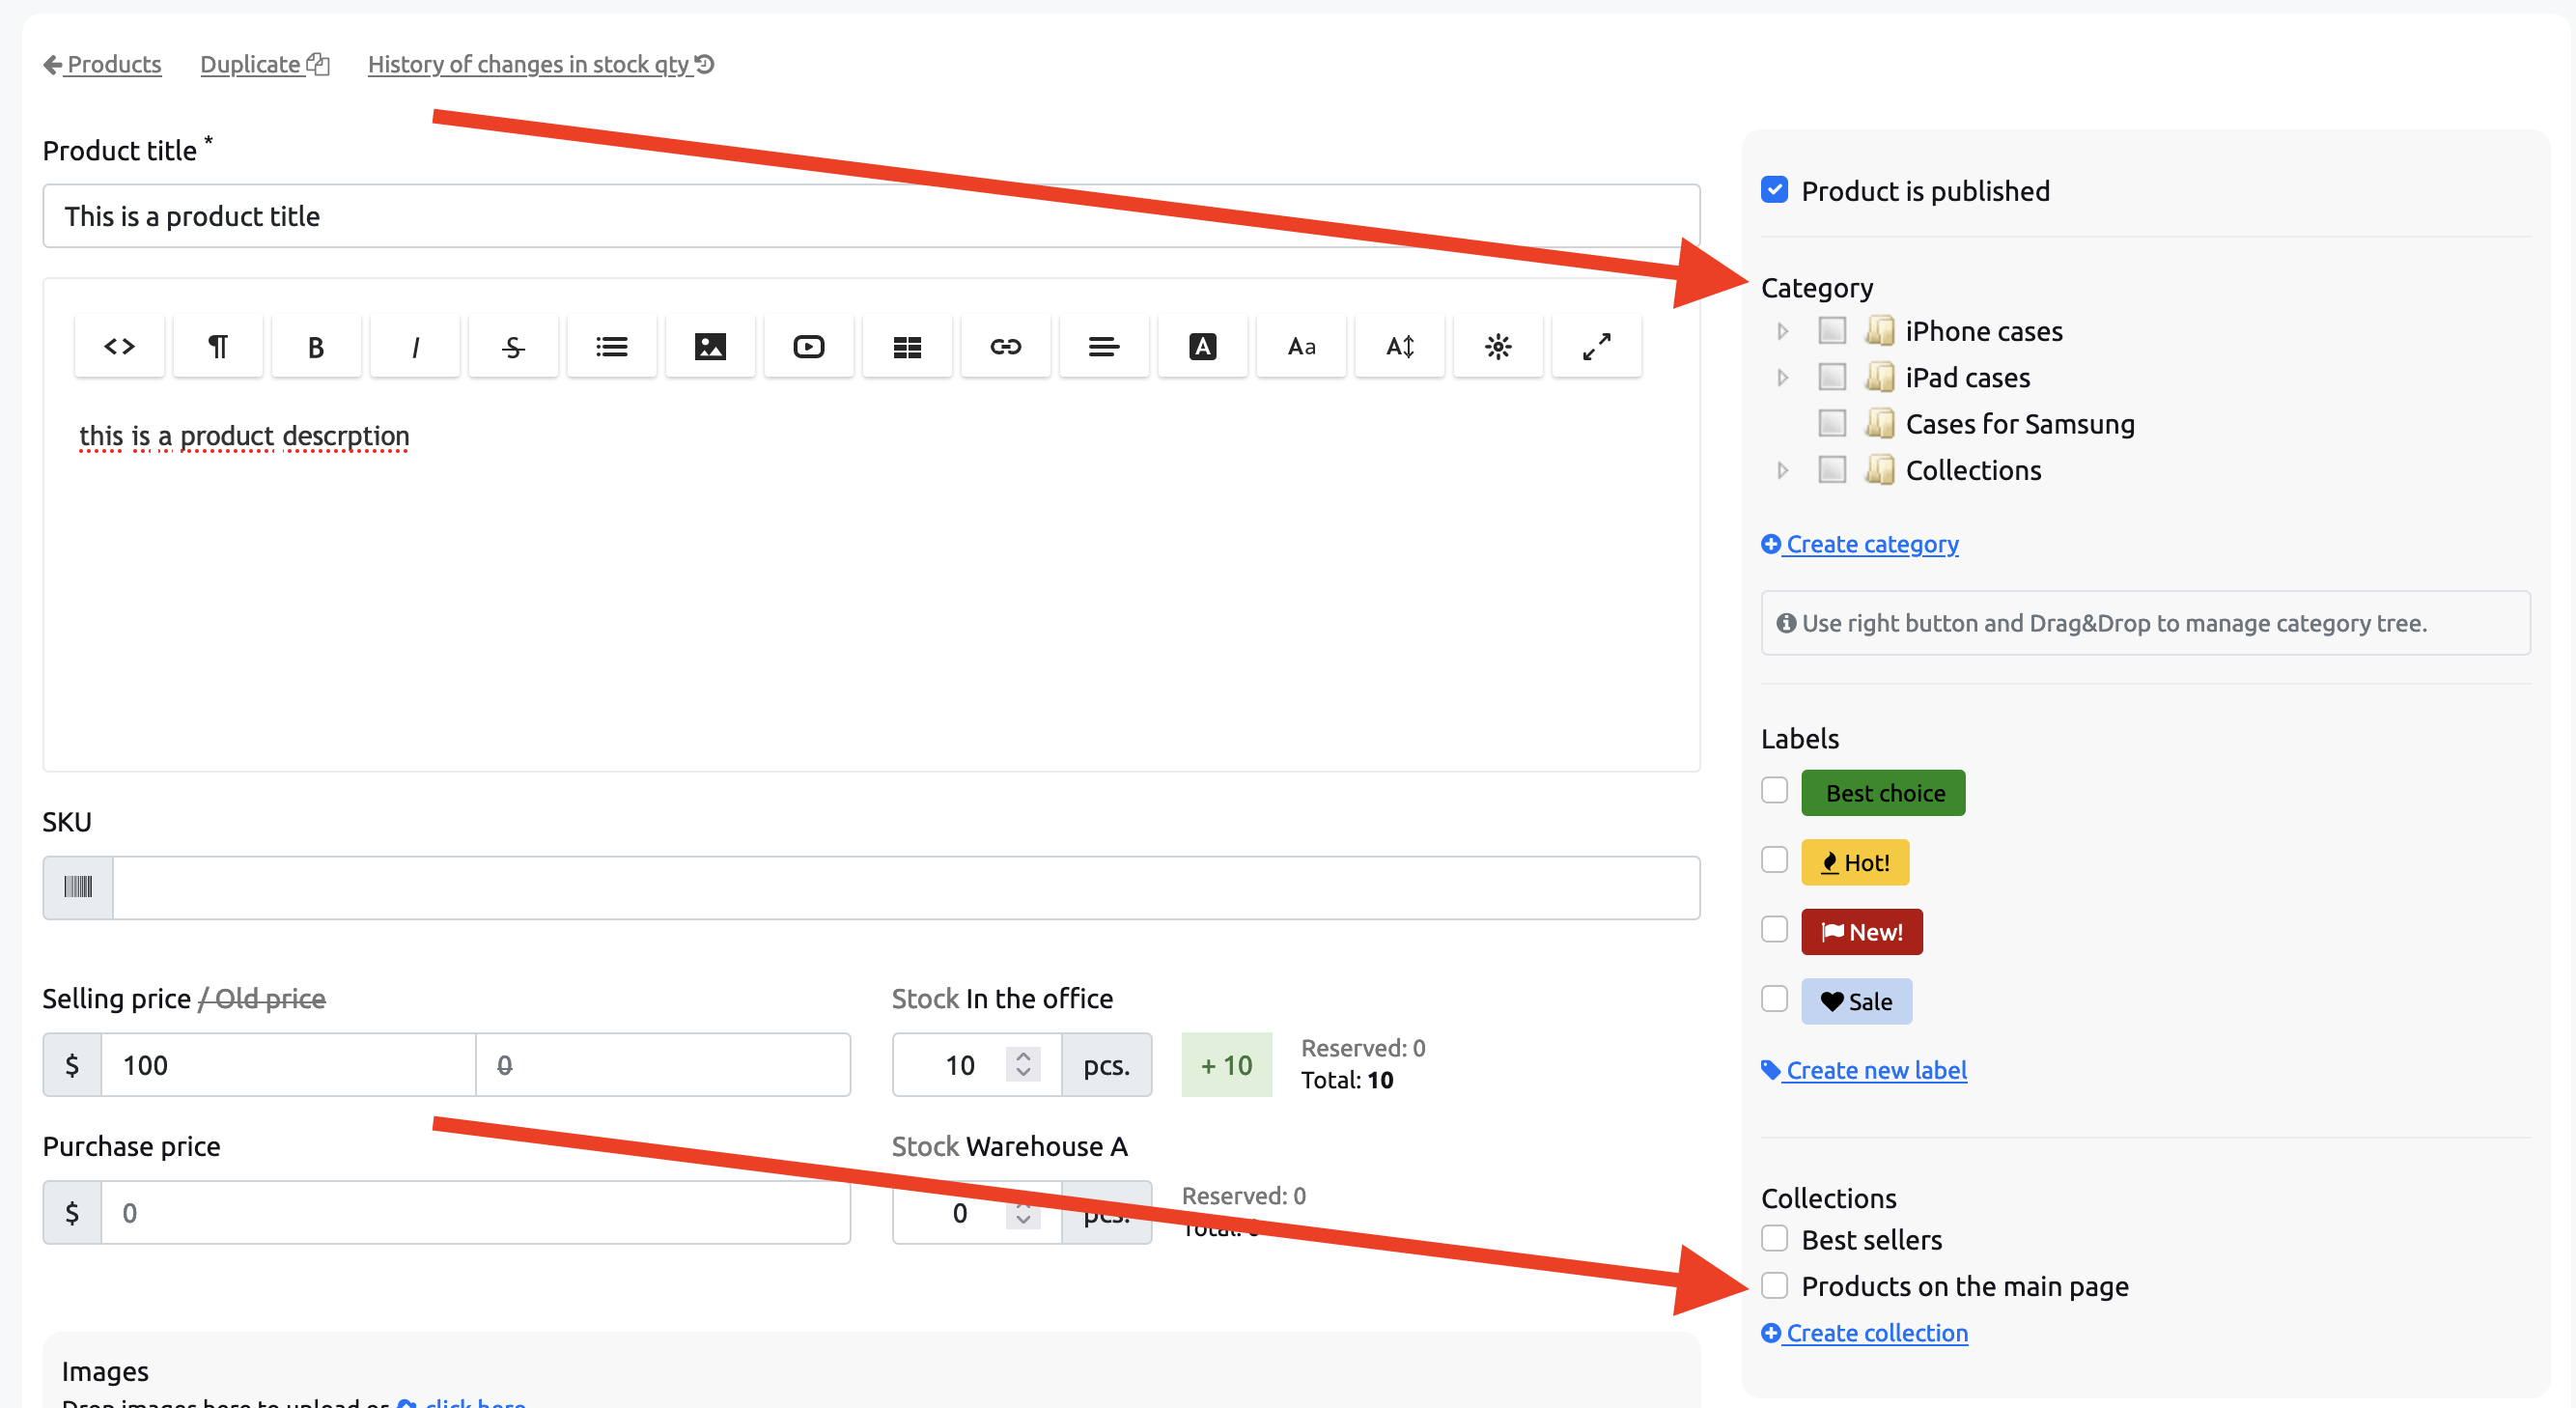
On the right side of the form, tick one (or more) categories that the product is related to. If you want the product to be displayed e.g. on the main page - tick appropriate collection:
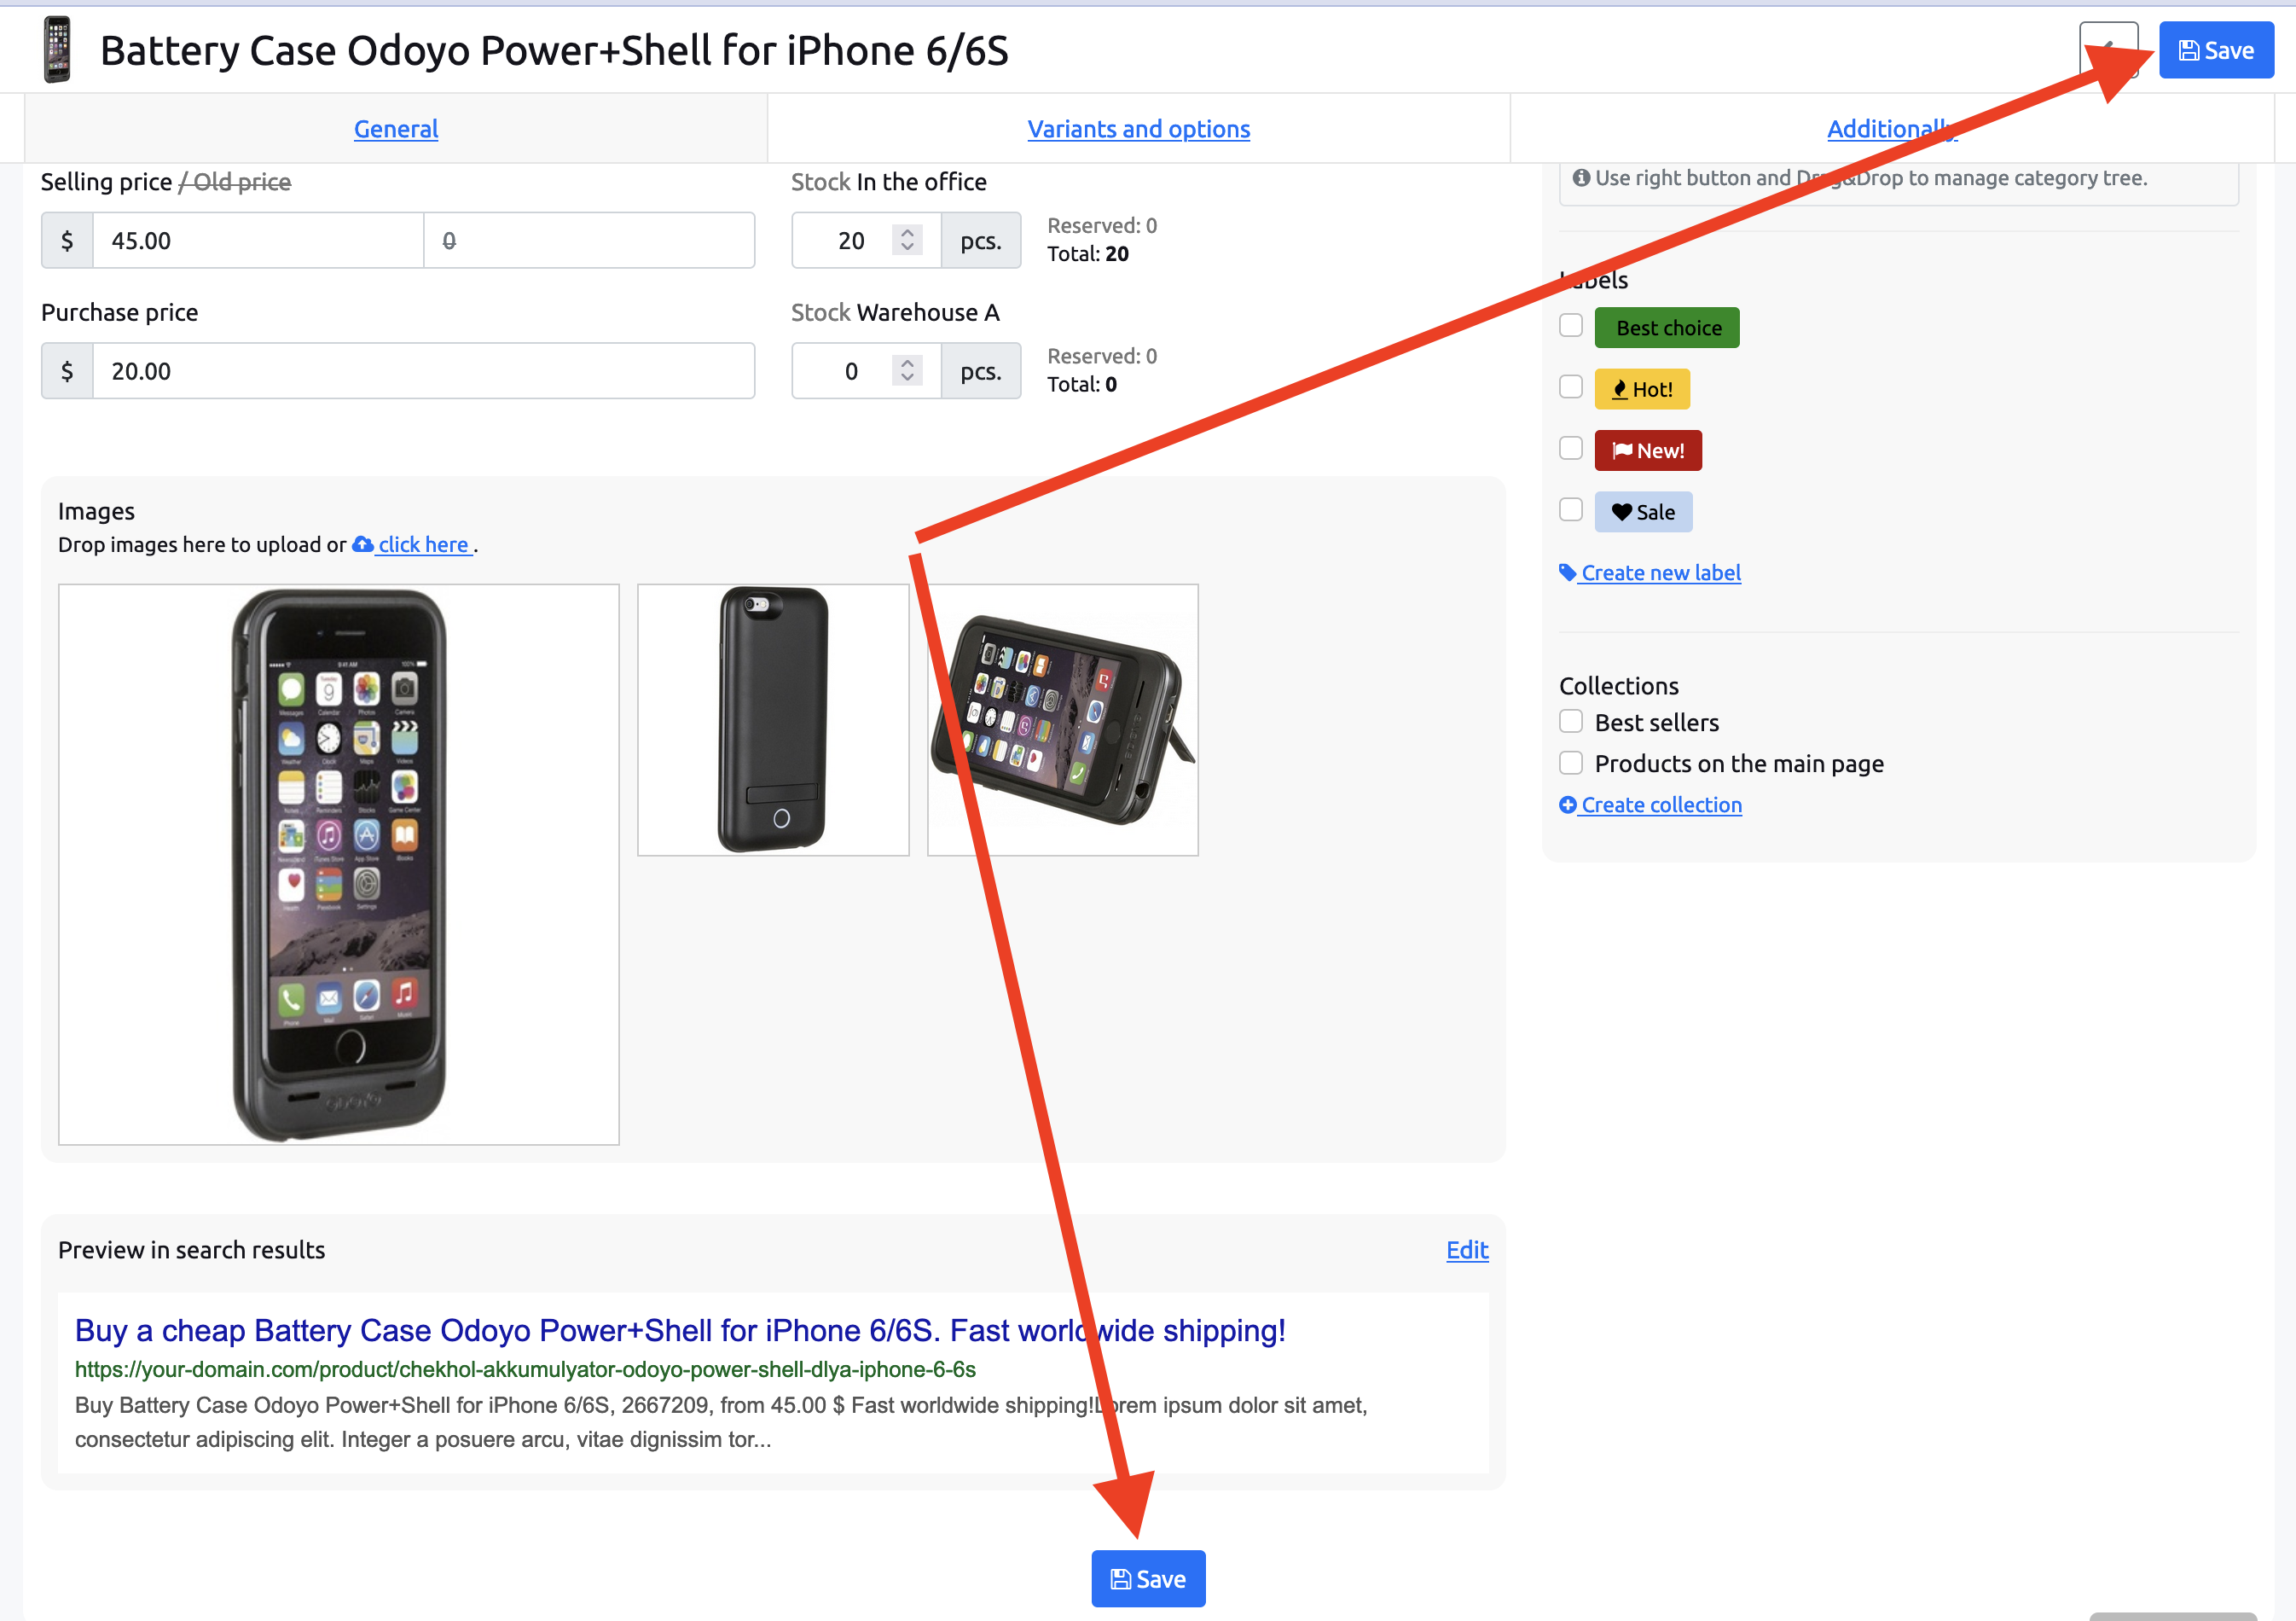
Hooray! We are almost finished. Just need to save the product and we are set! Click on one of the save buttons:
After saving - go back to the list or continue editing the product.
Labels
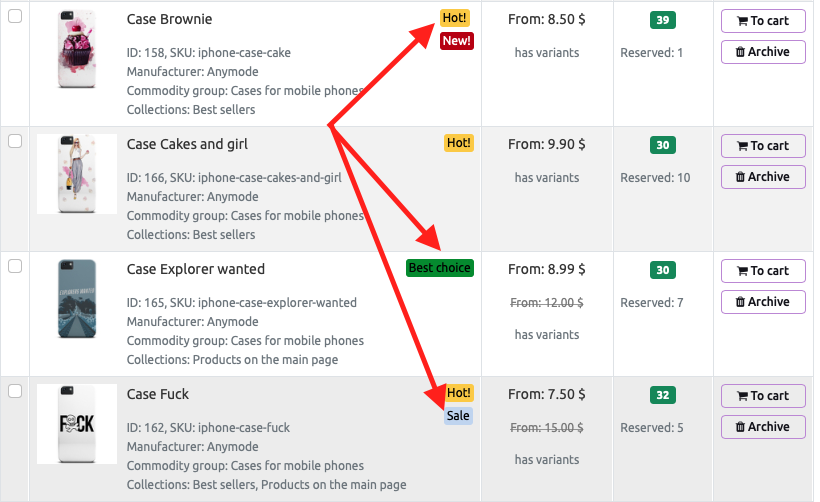
Labels draw the attention of buyers to the special features of a product or store offer. Labels are displayed next to the product image on the main page and on the product page.
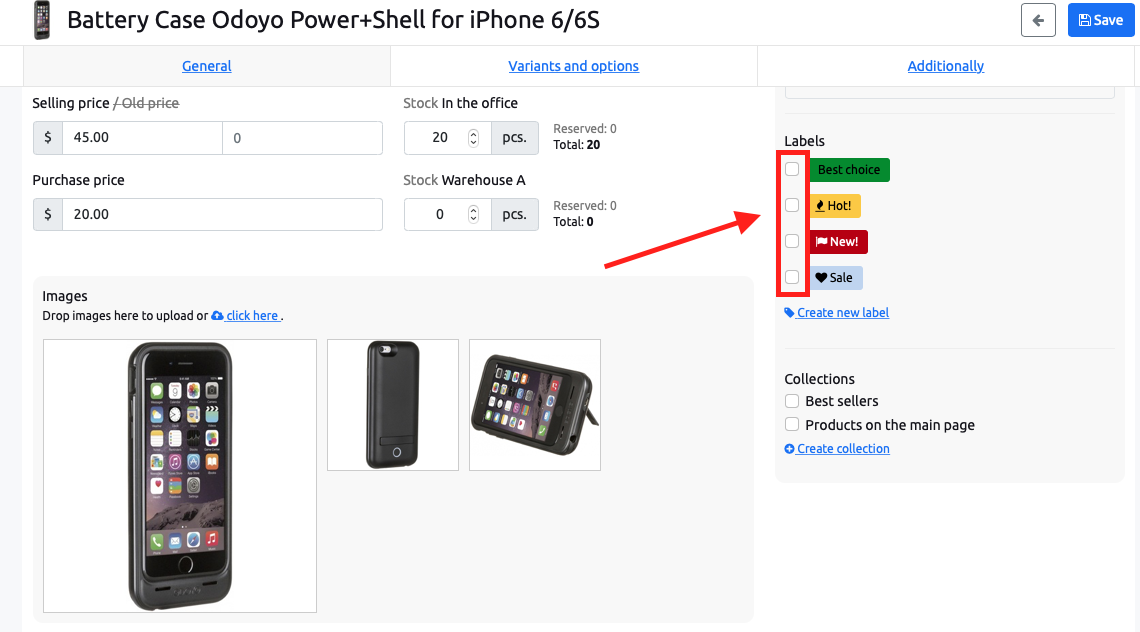
To assign a label, go to the product form for which you want to set a label, and check the box next to the one you need:
If none of the labels meet your requirements, then you can create your own. To do this, click the “Create new label” button.

In the window that opens, enter the name of the label, set its color and select the icon.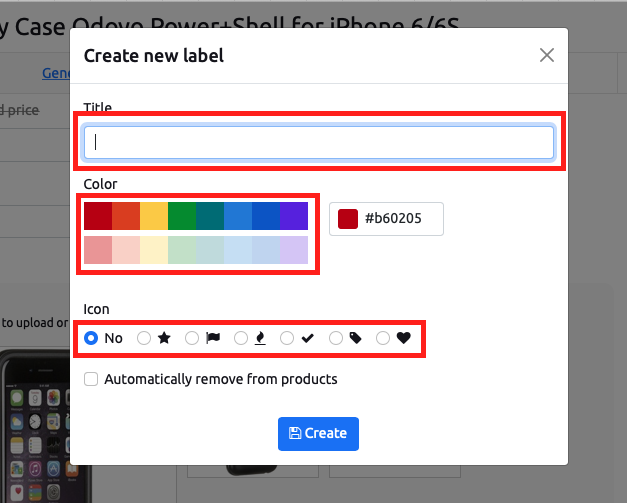
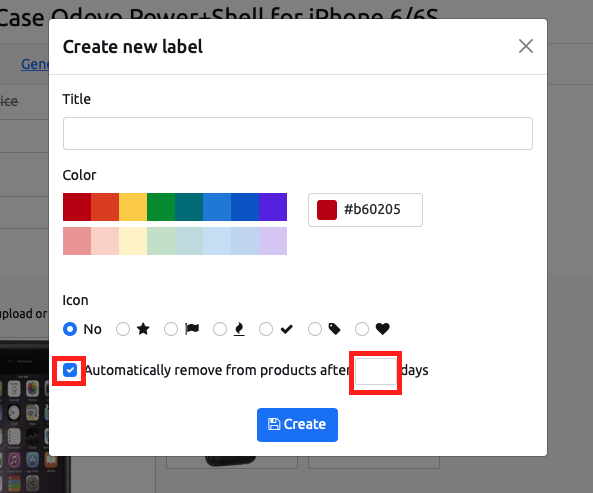
For existing and newly created labels, you can set the automatic removal of labels from products after a certain number of days. To do this, in the label form, you must check the box next to “Automatically remove from products” and in the field that appears, enter the number of days until the label is automatically removed from products. Then after the specified number of days after adding the label to the product, the label will be deleted.
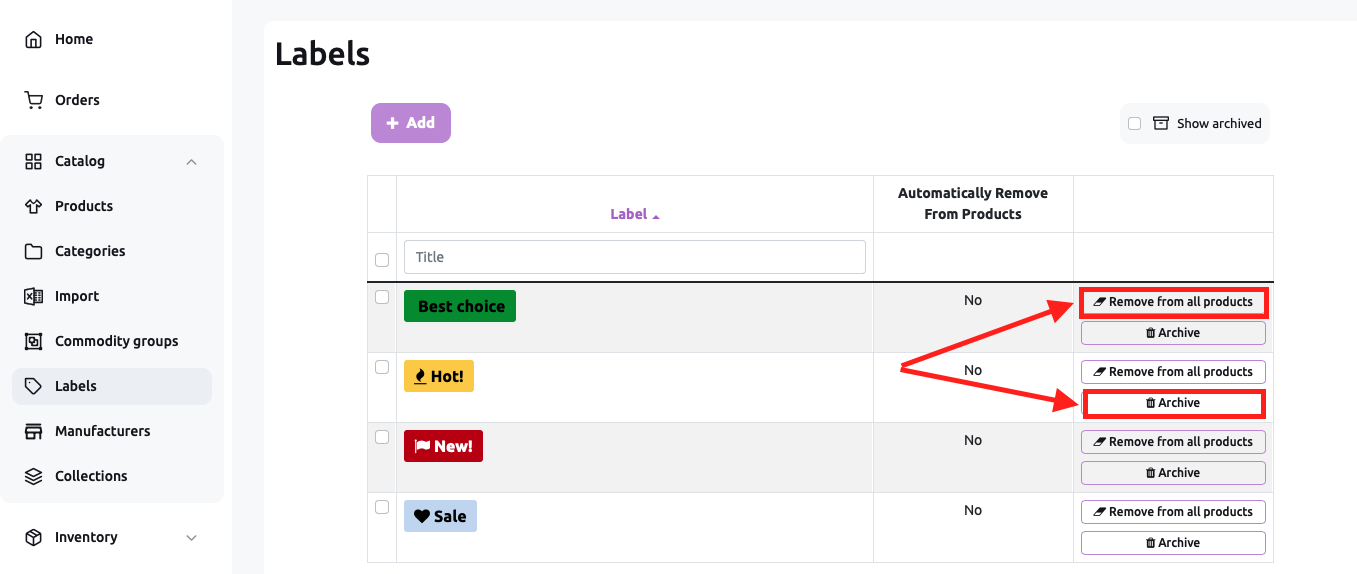
If you need to remove the label from one product, then just go to "Products", select the desired product and uncheck the label you want to remove. If one label needs to be removed from all products, then you need to go to “Labels”. To do this, in the left menu, click “Catalog”, and then “Labels”:
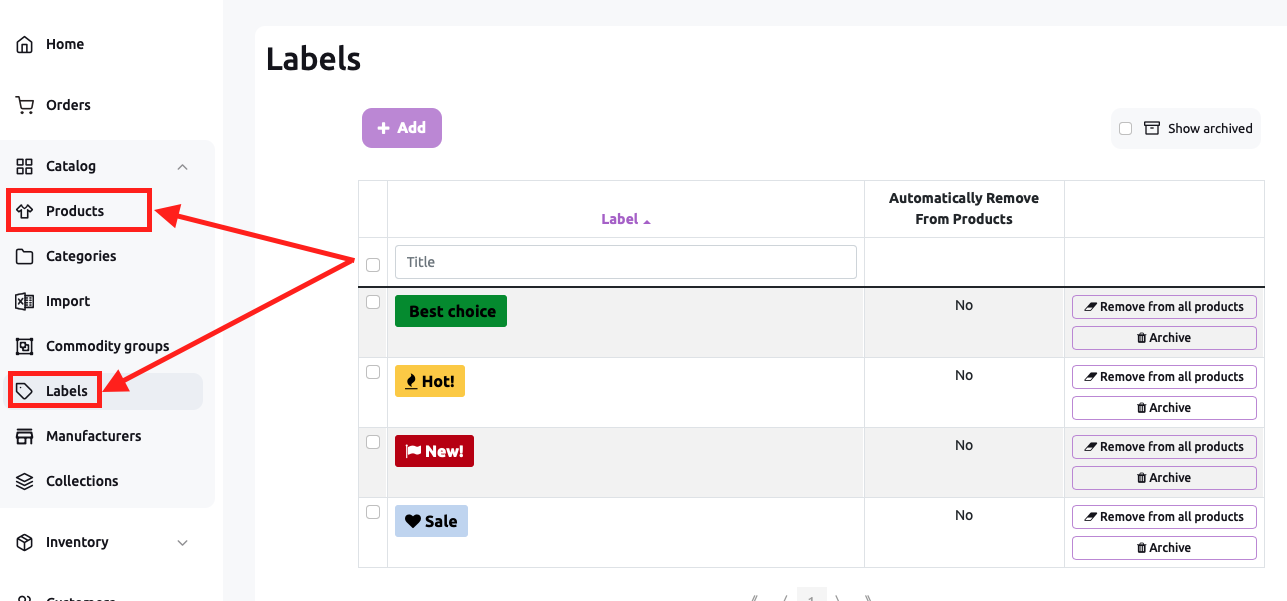
In the list of labels, select the desired label and click the "Remove from all products" button. On the same page, you can move any "To Archive".
Creating commodity group and characteristics
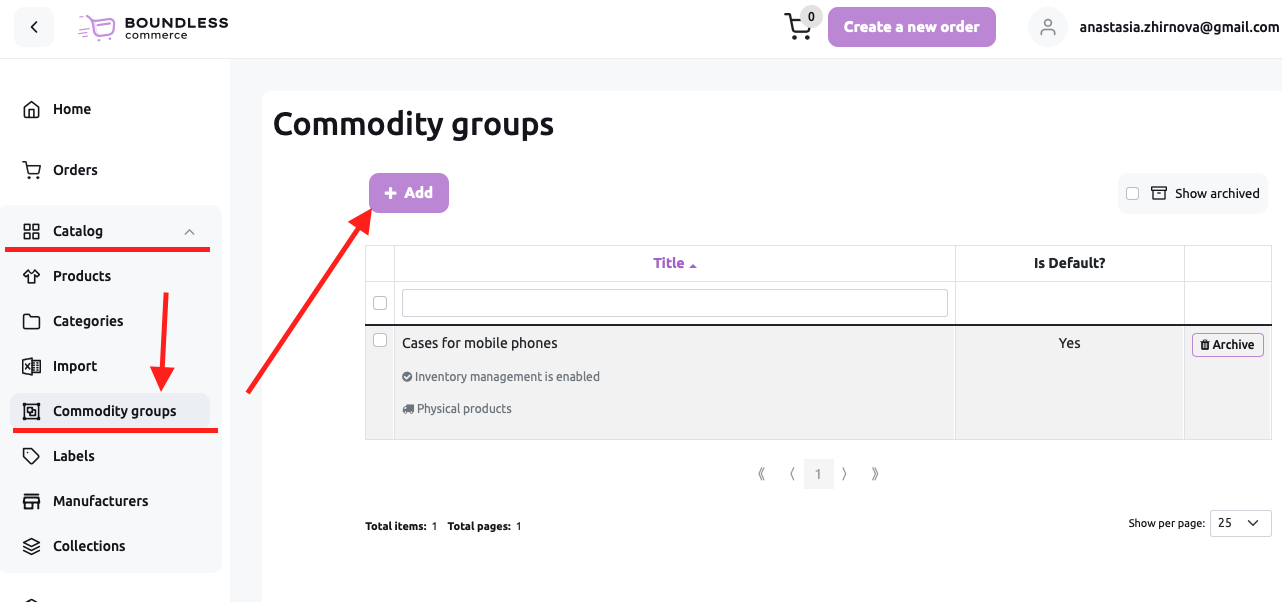
Go to "Catalogue" -> "Сommodity groups" and click "Add":
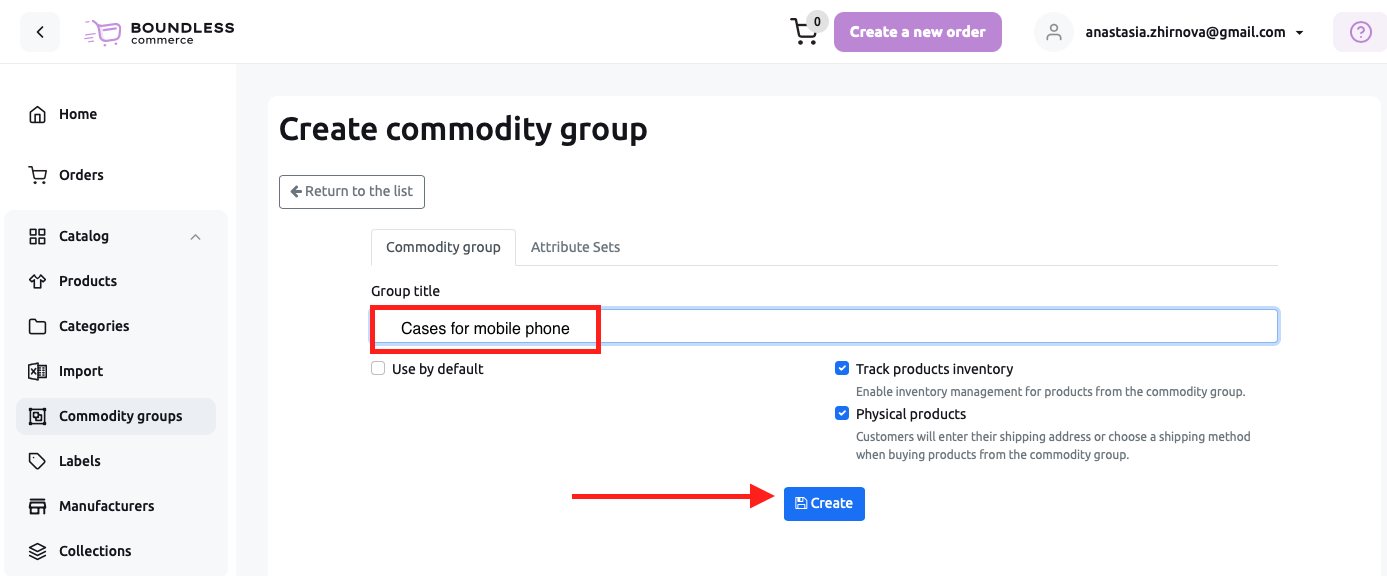
In the form that opens, enter the name of the commodity group and press "create":
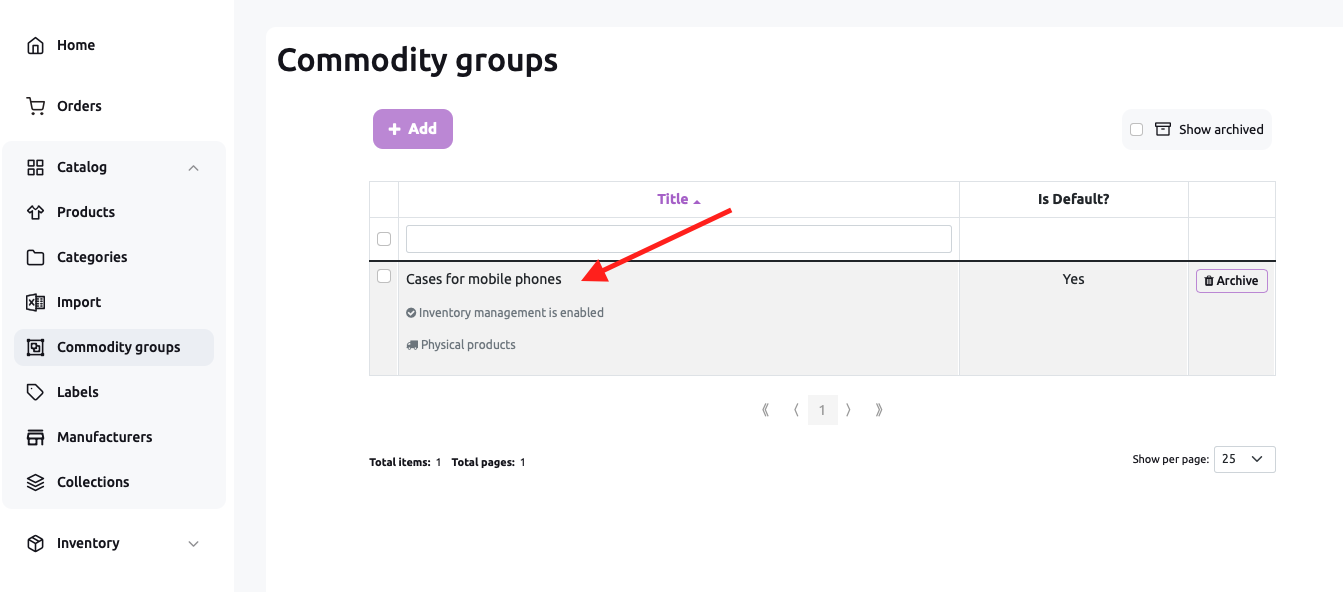
Then open the newly created commodity group again:
Now you will have access to the "characteristics" tab. The product group already contains such characteristics as "Weight", "Length", "Width", "Height" - these parameters are needed to calculate the delivery. Click "Add Feature":
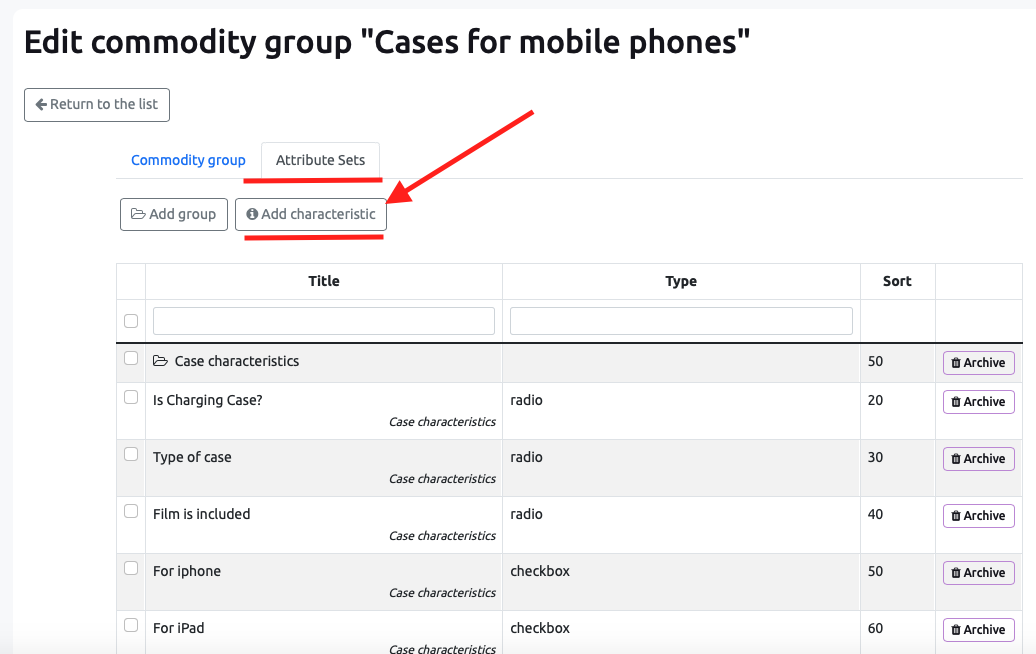
In the window that opens, enter the name of the characteristic, for example, "size", select the type: if the product can have several sizes, then select the "Checkbox" type, then enter the possible values for "size". Each value is entered in a separate field. To add the next field, press "Enter" in the previous one. Then save the form - press "Create"
